With usability testing you obtain valuable insights about your app or application. In a good usability test you get people to interact with your app or web application and observe their behaviour and reactions to it. In this article we will explain why you should do it and we’ll tell you how to start doing it.
First, let’s talk about the why. If you have an app or web-application, or you are designing and developing a new one, then usability testing (or user testing) is a “must have”. The method for usability testing I’m going to explain is simple, in-expensive and will give you the insights you need to make your product great. Essentially usability testing will help you in three ways:
- Discover opportunities to improve your product.
- Identify problems in the design of your product.
- Learn about your users’ behavior and preferences.
Two major pitfalls of usability testing
Assuming you already know everything
A common pitfall is to assume that you (and your colleagues) have all the knowledge you need to build a great product. However that just happens to be the problem. Your product will have to work for customers who don’t know anything about it. Knowledge is actually a burden, because you cannot not know what you already know. Usability testing will test whether the product is intuitive enough to make that delightful user experience happen.
Keeping it a secret
When I hear “we don’t want to show anyone what we are doing, yet”, I am triggered. Ofcourse, in rare cases you actually need to keep your project a secret. However in most cases it is a very good idea to put your idea out into the open as soon as possible. You might be afraid that your idea will get stolen, but the truth is, those “copy cats” don’t have the unique combination of talent, time and network to execute your idea successfully, but you do! We at Dutch Coding Company advocate for using usability tests as a way to acquire early market feedback, while perhaps also landing your first customers. Do you still want to keep it a secret? Ask your participants to sign an NDA or whip up a fake brand using a fake name and an online logo generator.
Convinced? Great! Onto the good stuff.
Step 1: Determine the test goal
It all starts with the goal of your test. Usability tests are good for answering the following questions:
- Did we make the right thing?
- Did we make the thing right?
You could focus on one of the two or on both. The first question is about validating whether a new feature (or a complete app) makes sense from a user perspective. You’ll have to find out whether the feature aligns with your user’s goals and objectives, without leading them into giving a desirable answer. This takes a little practise to get right.
The second question is about the user experience of the feature. You’ll find out whether the feature is intuitive to use and how to make it more intuitive. You’ll do this by discovering what the user assumes about how your application works.
Both questions are answered in the same way. Make a list of tasks, which your user needs to complete using your application. For example, let’s assume we are testing an online grocery store app. The list might look like this:
- Add your favorite drink to your basket
- Add the most appealing sale your basket
- Checkout your groceries
Carefully choose the wording of the tasks. Don’t give away too many clues about how to perform the task. By having multiple interpretations for each task, you allow the test participants to show their way of doing things. And that is where the gold is.
Step 2: Plan the test
Next, set a date and arrange a test location. With the current COVID situation, we advise to do a remote test with the help of video meeting software (make sure you are able to see what the test participant is doing). When it becomes possible to test in real life again, try to match the regular context of your product. For example if you are building a fitness app that is meant to be used during fitness, then test it in a gym!
Gather five test participants. Based on our own experience we discovered that five is enough to uncover the big insights, while not wasting too much time on getting the same results. Make sure the participants belong to your target user group, however they don’t have to be actual users of your product. When recruiting, use a screener to select participants who fit the target user group. A screener is a simple survey with a few questions that help you determine whether a person is part of your target group.
Step 3: Prepare the application
You are almost ready to test. Do this step just before you do the actual testing. Prepare your application by creating realistic test accounts and test data. In the case of the online grocery store, this means setting up an account and adding products to the database. Doing so saves valuable test time which allows you to let the participant perform an extra task or two.
When you do not have a working application, use interactive prototyping software, like framer, to build your prototype or build a paper prototype. This requires a little bit more effort, however the earlier you involve users, the more likely it will be that you create a product that users are (literally) waiting for.
Step 4: Start usability testing
The test will be led by a facilitator. He or she will guide the user through the test. It’s good to have one or multiple (remote) observers, because the facilitator will never be able to orchestrate and observe everything perfectly at the same time. I’m going to explain a process called the Five-Act Interview, which was developed at Google Ventures as part of their Design Sprint. Each test will have the following five steps:
- Friendly welcome
- Context questions
- Introduce your application
- Tasks
- Quick debrief
The friendly welcome is meant to put the participant at ease. Be sure to explain to the participant that you are looking for truthful and straightforward feedback. Next, transition with a little small talk into the context questions. These questions should be on the subject of the application you are going to test. Use these questions to put the participant even more at ease, while learning a thing or two about the behaviours and opinions of your participants.
It is time to introduce the application, but don’t explain how it works! Ask the participant to think out loud while testing the app. Remind them you are not testing him or her. Then let the participant figure out the prototype on their own. Keep in mind your list of tasks. Nudge them towards these tasks, but leave room for serendipity. Use unexpected feedback to dig deeper and increase your understanding of the participant. While this happens, the observers take notes and write down interesting quotes from the participants.
End each session with one or more debrief questions. These questions are meant to give an insight into major objections and overall impressions. Here are a few examples:
- What surprised you about what you saw today?
- How would you describe the application to your colleague?
- How does it compare to things you’ve seen in the past?
That’s the interview. One more pro tip: The participant will probably ask questions like: “Am I supposed to click on this?”. Don’t answer these kinds of questions. Instead ask what the participant thinks he or she should do.
Step 5: Implement improvements
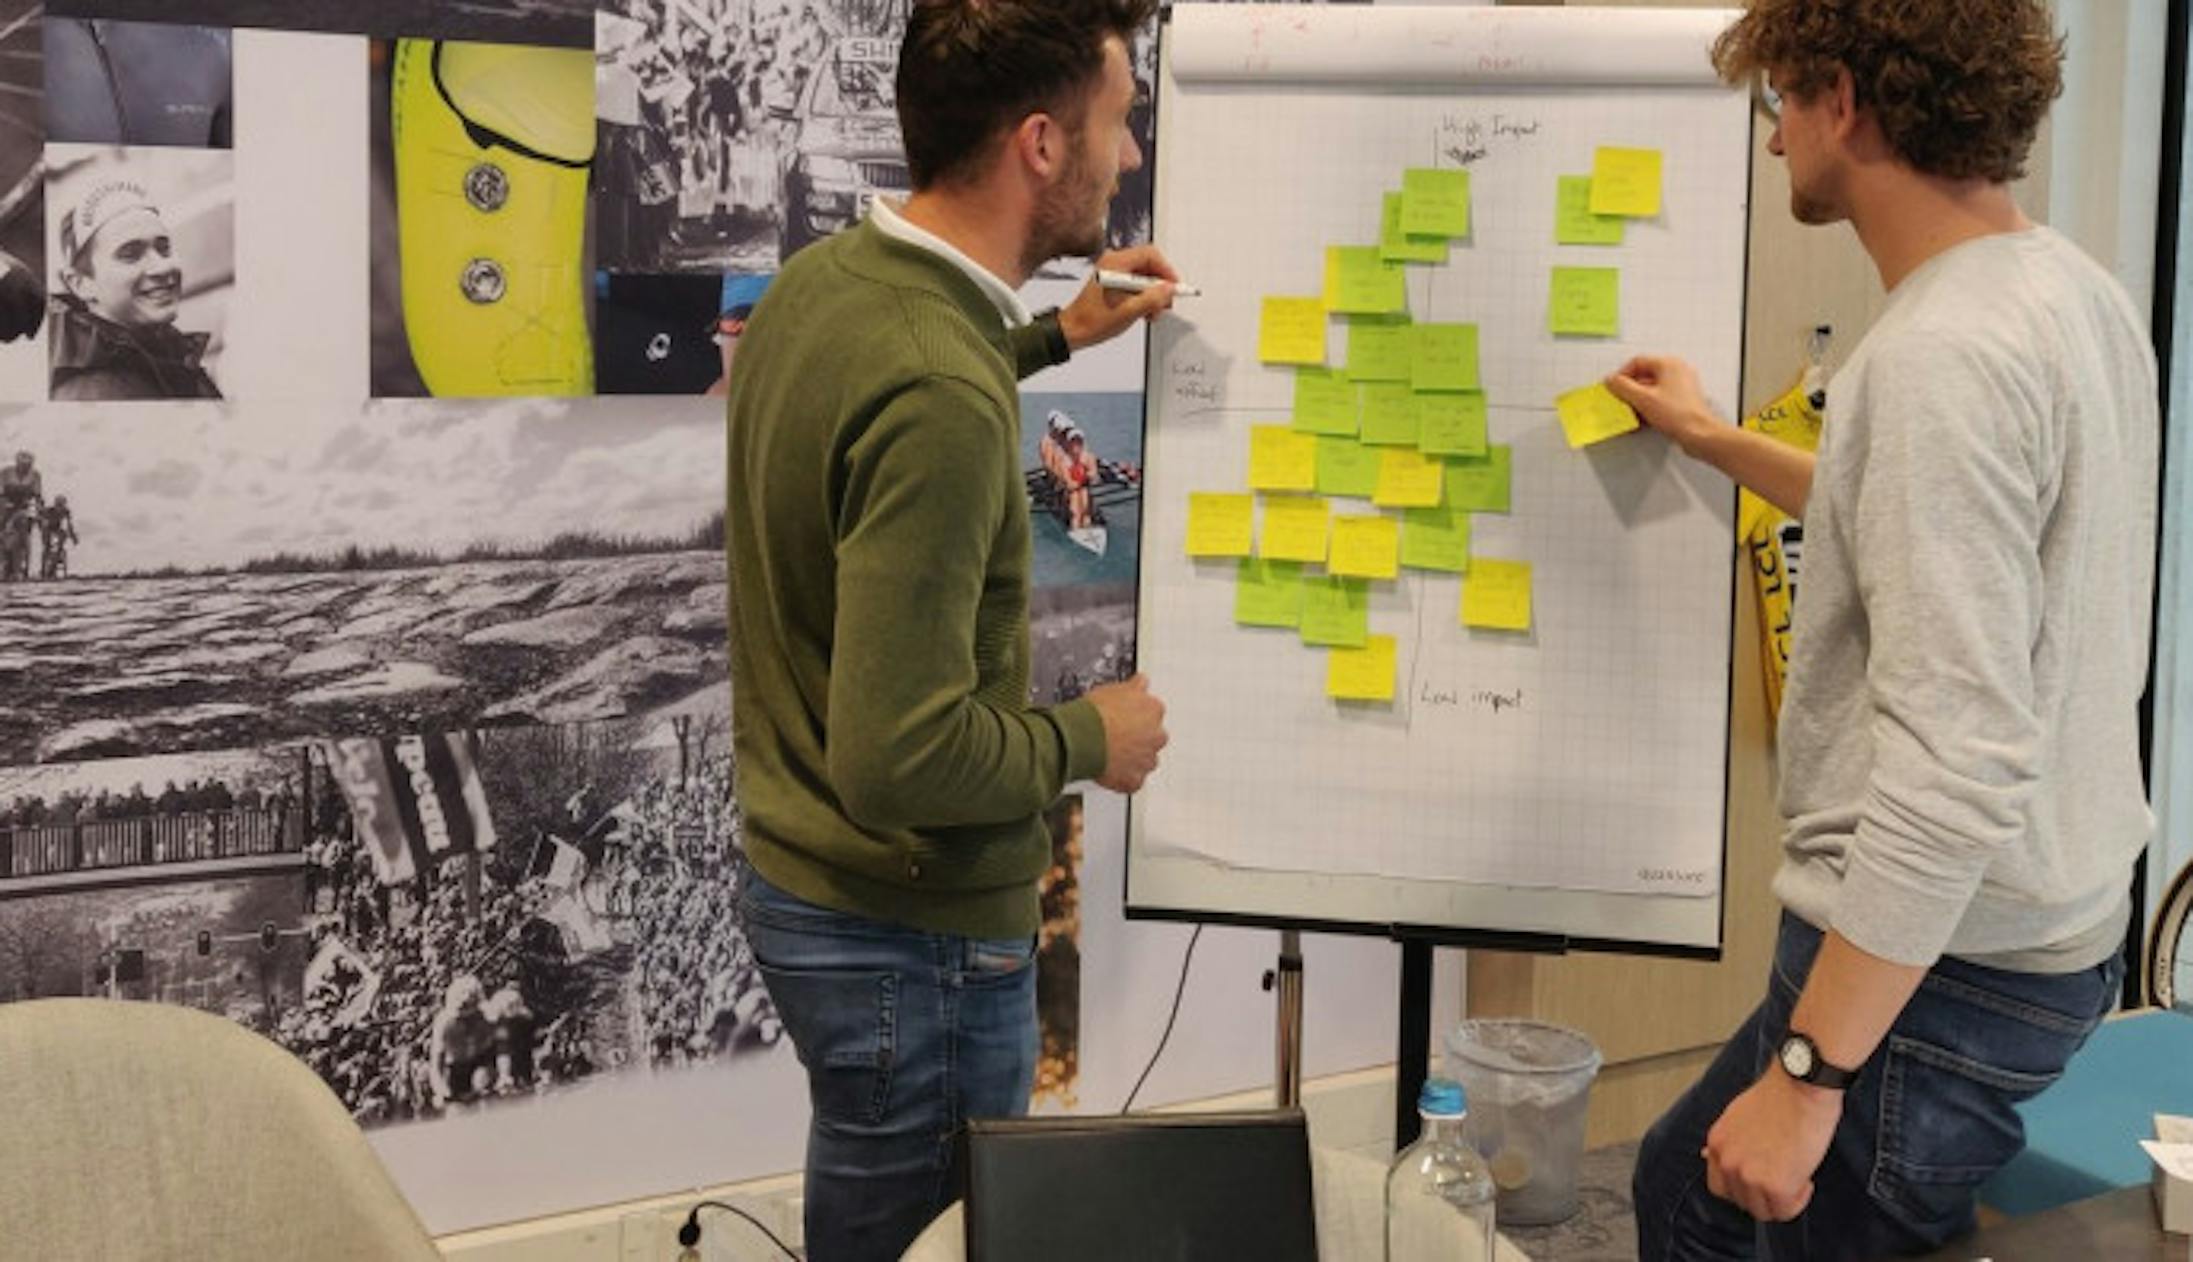
Plan a recap shortly after the sessions are done. Preferably on the same day. Before COVID we used post-its to write down and analyze the findings. Currently we use a digital whiteboard called Miro (we’re not affiliated in any way, we’re just fans). Put your notes and quotes onto the post-its. Create clusters of related notes as they emerge. In this way, the emerging patterns will enable you to create an action plan.
And that’s it. You’ve now got the knowledge you need to start with usability testing. I would love to hear your thoughts about this way of testing. I’ll try to include all ideas and tweaks that I receive. Do you want us to user test for you? Get in touch using with us! Would you like to read more about this topic? Take a look at our page about Usability Testing.


 Martijn Imhoff
 Martijn Imhoff
 Bas de Vaan
 Katja van Weert


