Designing the app
The next step was to create a basic design. We chose to align the design of the app with the web version. Even though there were no big requirements for the design, usability was obviously key.
After the most important features were ordered, we therefore started with creating a rough sketch of the various screens that were to be included in the app, which is called wireframing. This is merely mapping and placing the functionalities on the screens, such as buttons, lists, and navigation. In this phase, no styling, fonts, etc are taken into account. That you keep focusing on the usability of the design.
Of course, the app should look good as well. Therefore, we had to design a general style for the app. We worked with a Design System: one overview that defines all visual components. This includes colors and fonts, but also entire components that will be used in the app, such as the lists and buttons. What components should at least be designed, became apparent when creating the wireframes. The use of a design system is important for visual consistency in the app.
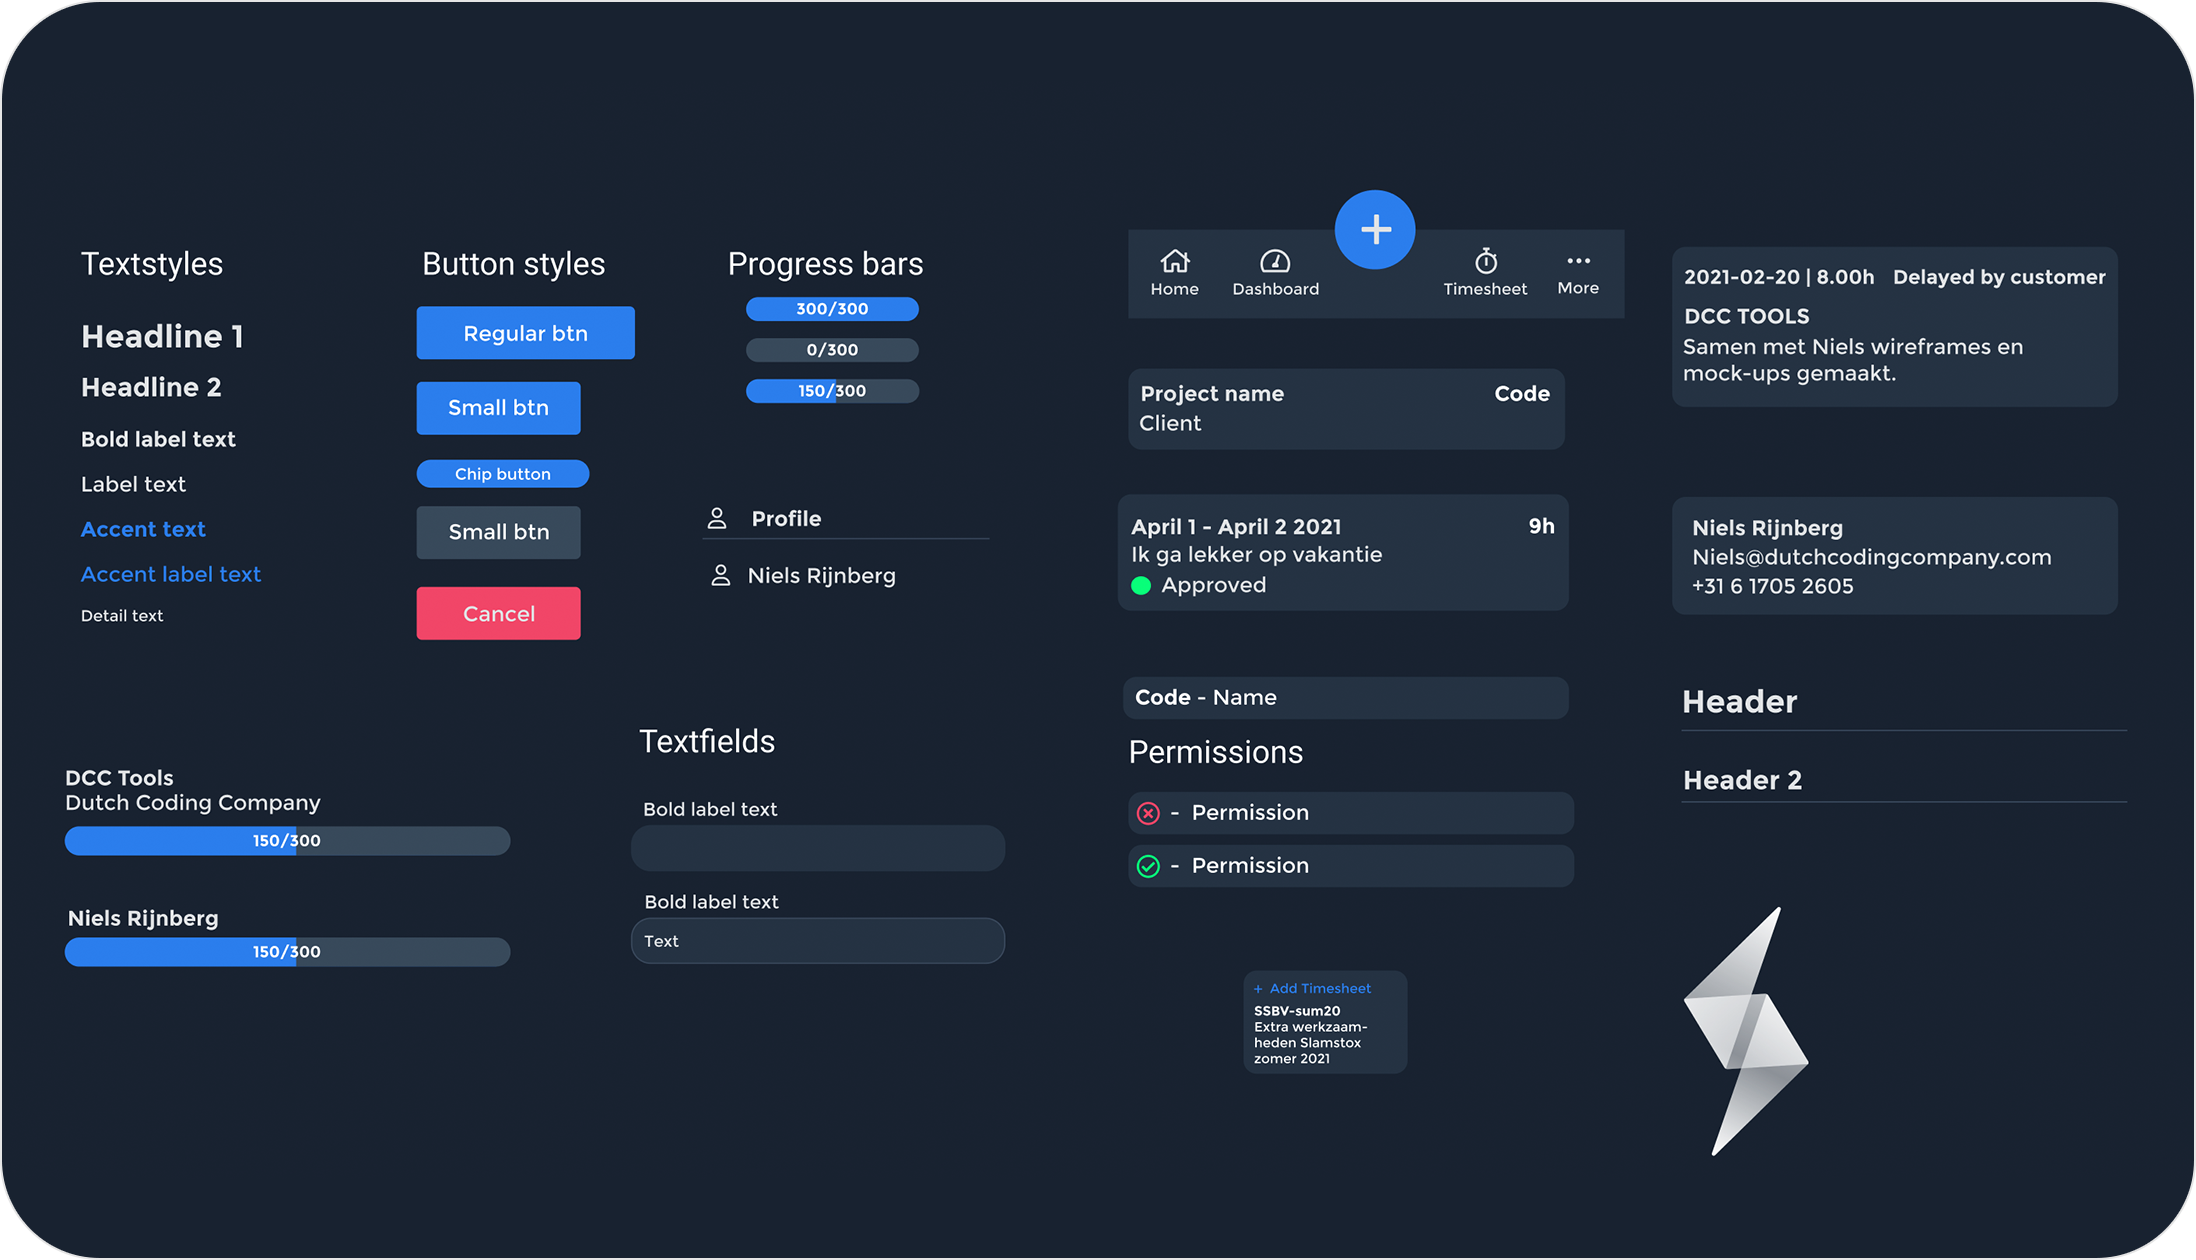
The last step was to create the full design. The screens from the wireframes were combined with the design system into one, pretty whole. This way, you could see exactly what the app would look like, even before we started programming.
Developing the app
The app has been developed with Flutter because we then only had to develop one app for both Android and iOS. Despite we didn’t have much experience with Flutter, we managed to finish the project within the internship timeframe. All designed screens and their functionalities have been implemented in the app.
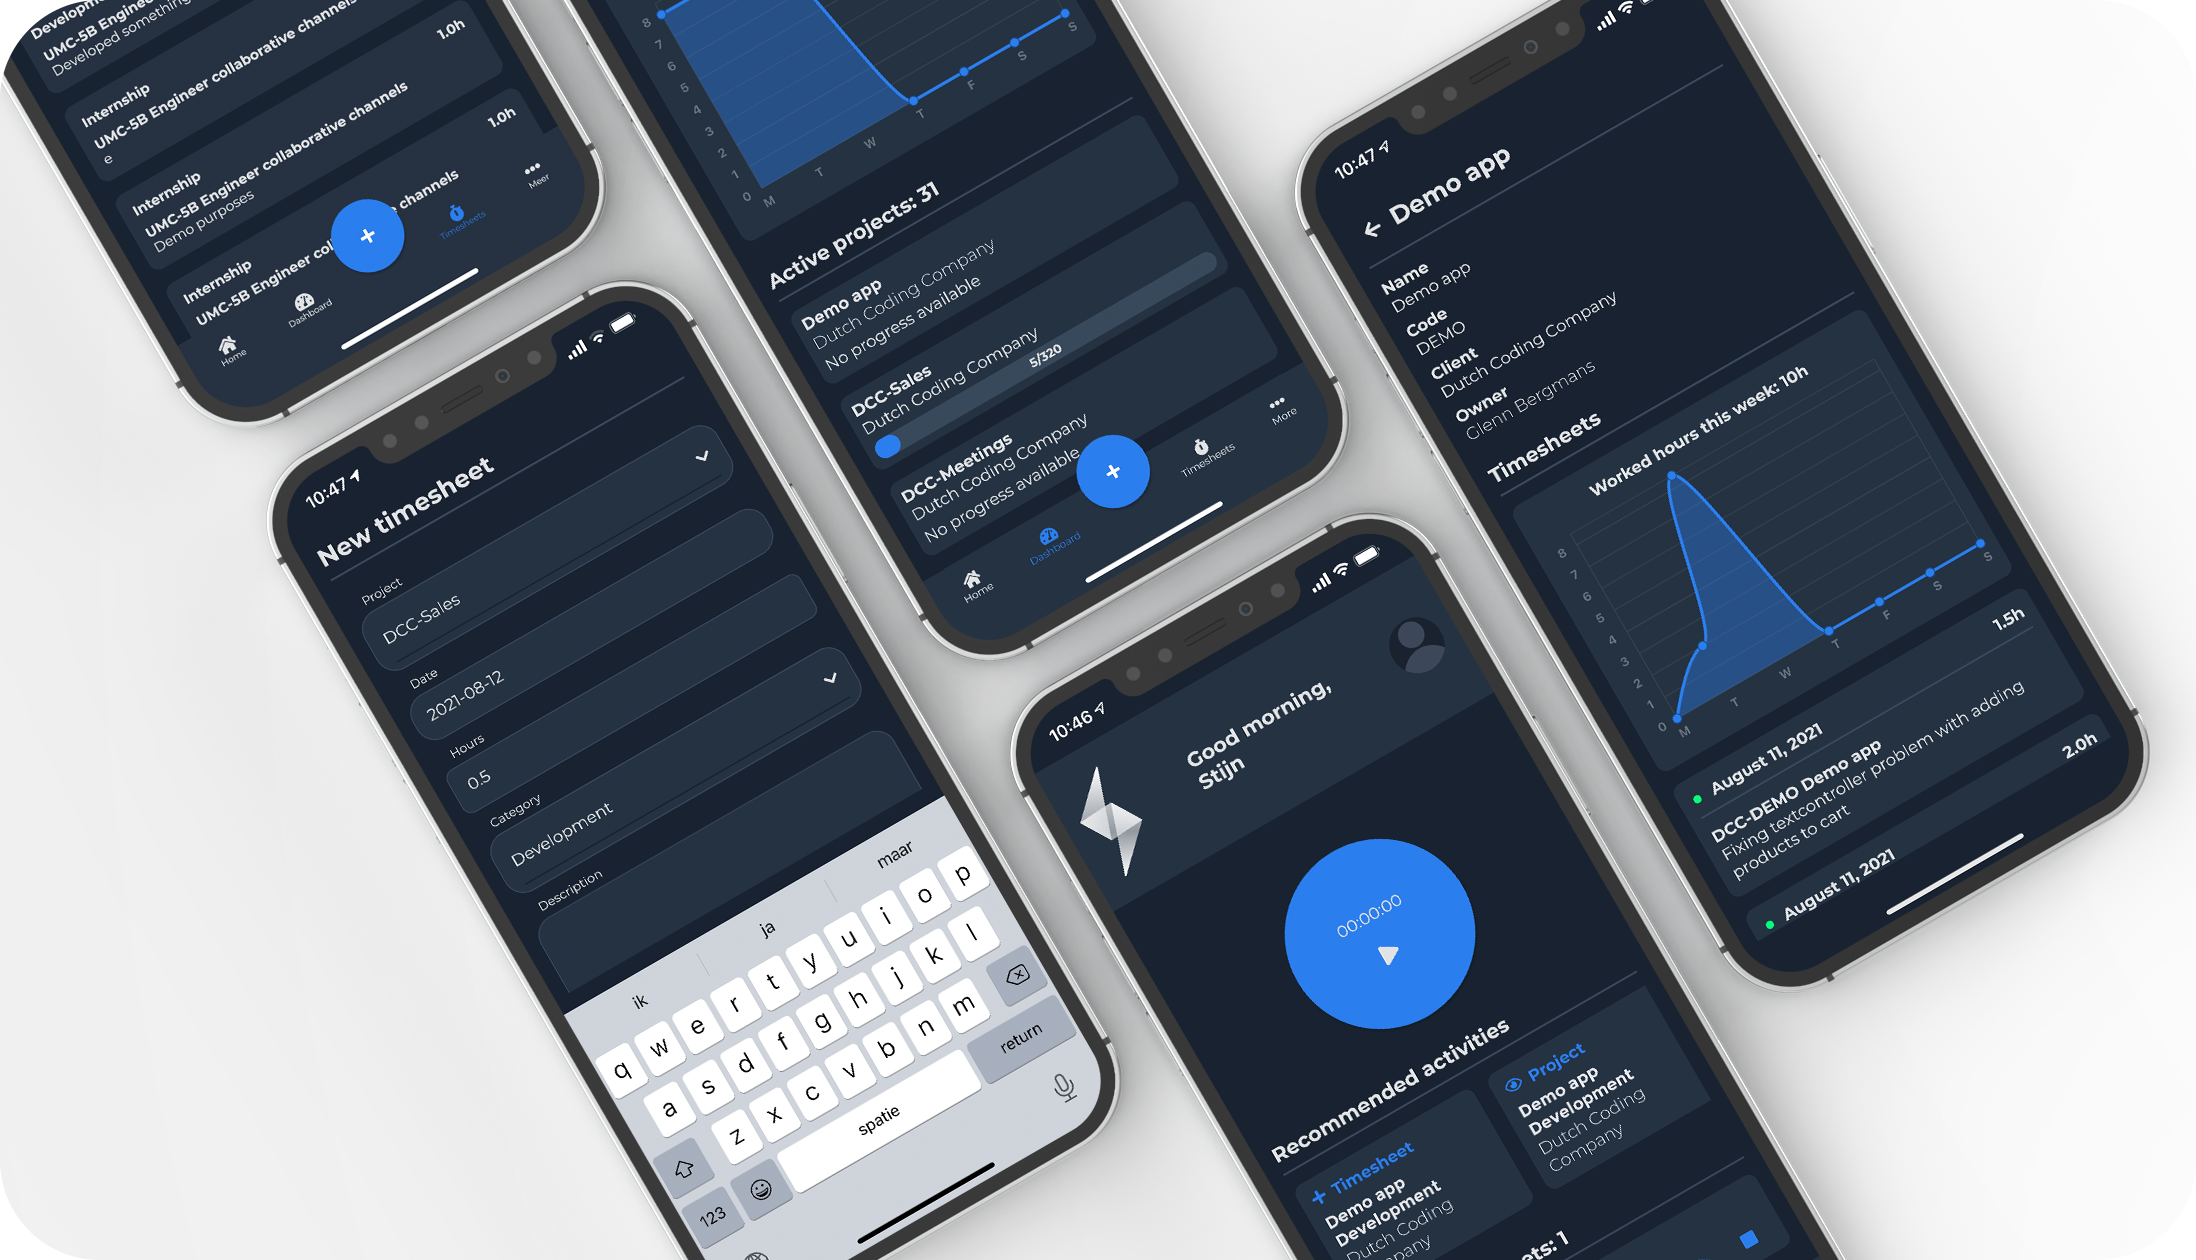
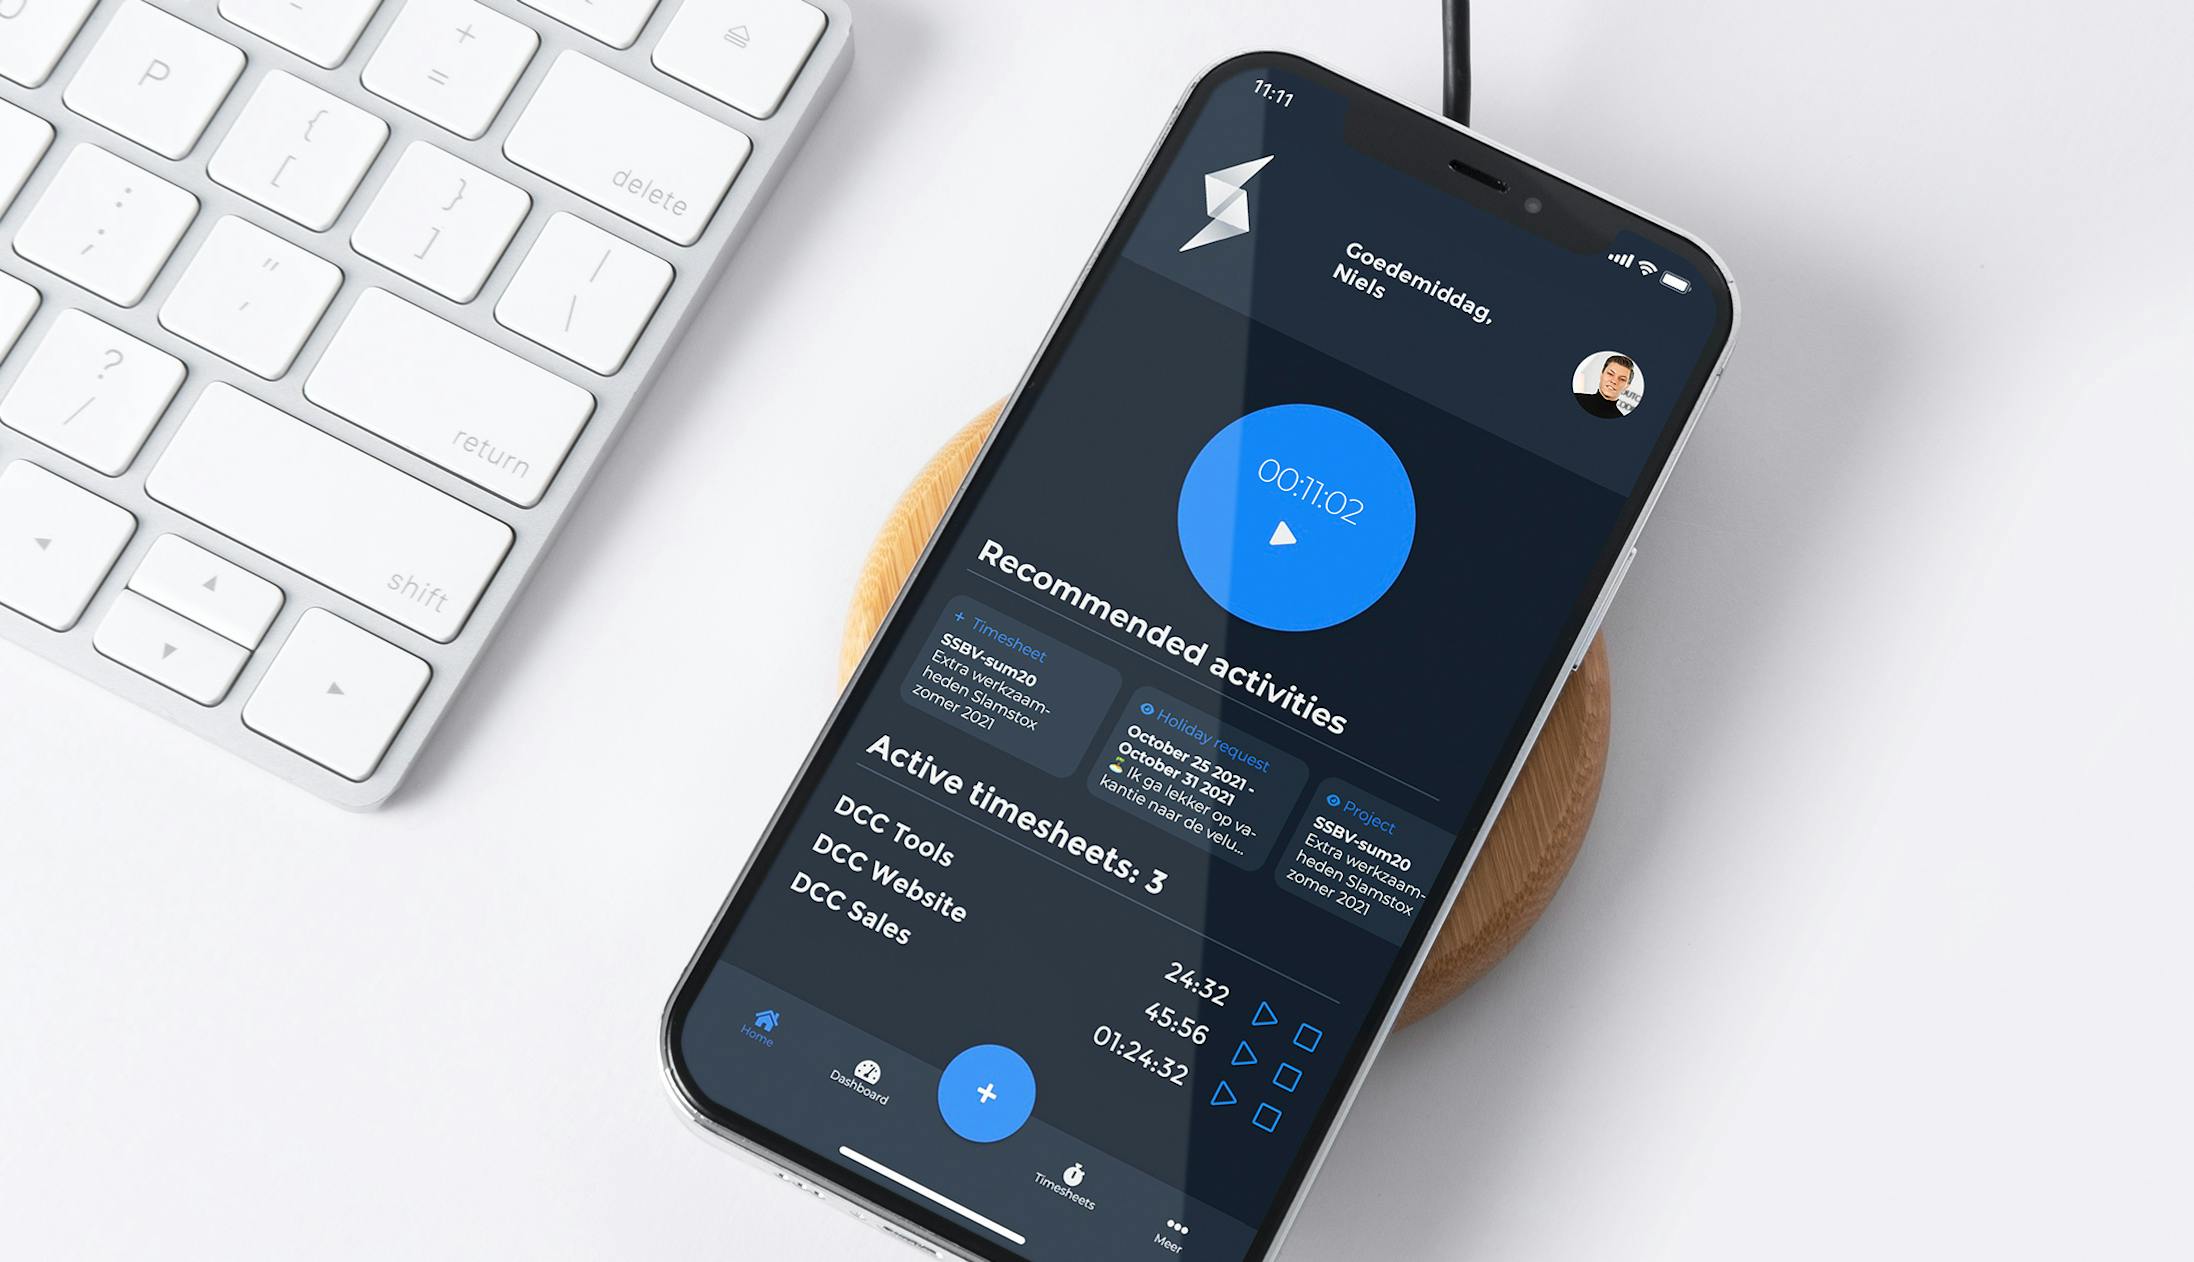
The most important functionality in the app is the huge blue button; that button also pops right out when you open the app. When you tap the button, a timer is started for a project of your choice. In the background, the hours are recorded for that user. The user can pause the timer, which saves it in a list of active timers. You then have two options: continuing recording time on the timesheet, or stopping and saving that timesheet. This makes it easy to record the time while working and makes logging your time much quicker.
Besides that, we’ve implemented another time saver. By measuring the user’s behavior, the app can suggest useful shortcuts, using a simple, but effective, algorithm.
These suggested shortcuts can be found on the home screen, right below the blue button. Shortcuts vary from viewing timesheets, clients, projects, and colleagues to creating a prefilled timesheet. The shortcuts are updated automatically in real-time and change based on the time of the day. All collected data and the algorithm work on the device; no data at all is sent to the server, warranting the privacy of the user.

 Niels Rijnberg
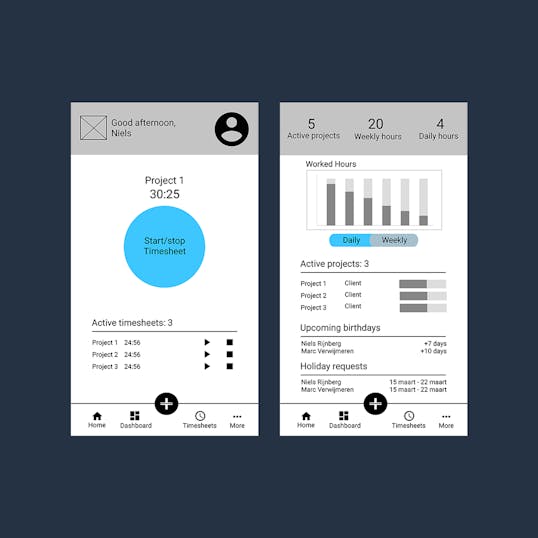

 Martijn Imhoff
 Bas de Vaan
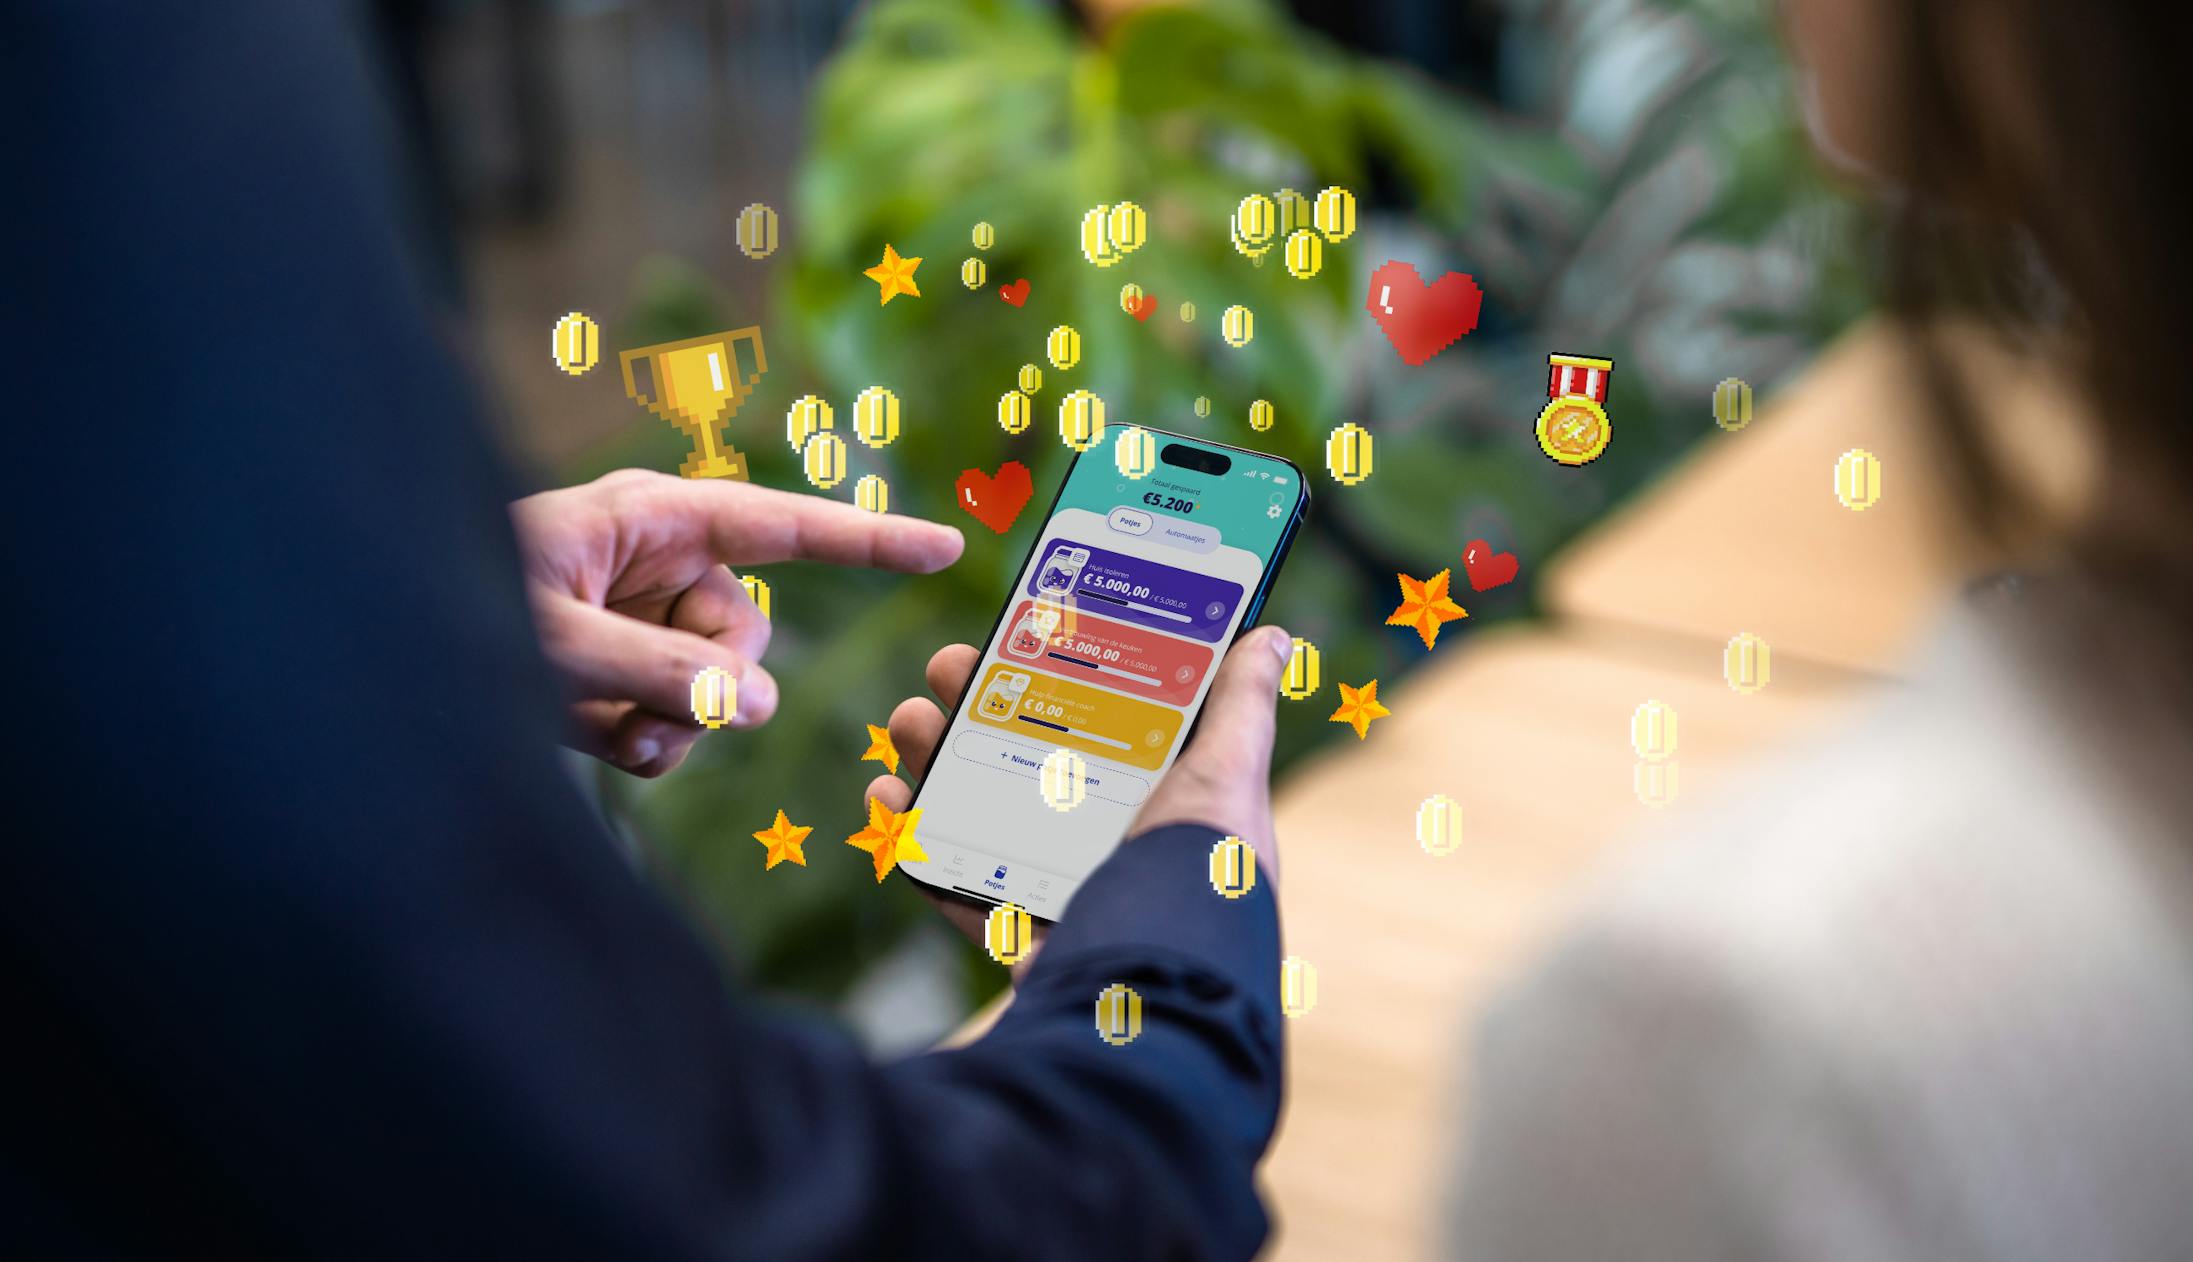
 Katja van Weert